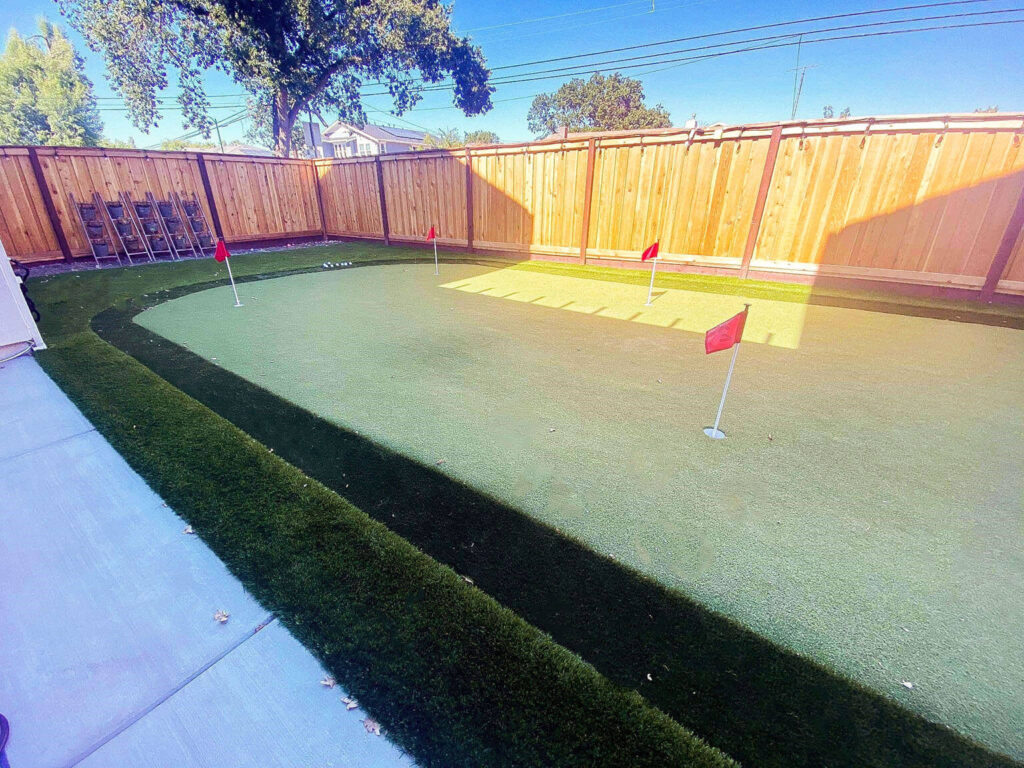
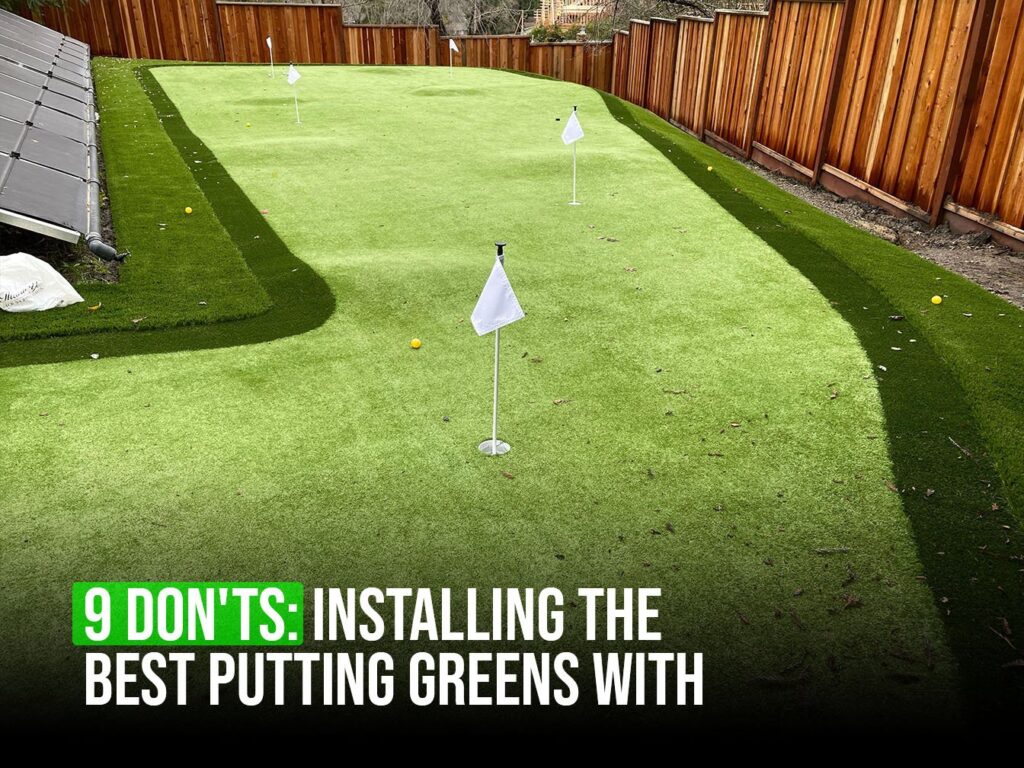
9 Common DIY Mistakes When Installing Artificial Grass Putting Greens
DIY-ing the best putting greens in your backyard will help you save money from installation services. That is, of course, provided that you do it right the first time. After all, mistakes can set you back and cost you bucks, especially if they’re hard to reverse. So make sure to avoid them as you go.
1. Inadequate Ground Preparation
A firm, level base is essential for a smooth, consistent putting surface. Many DIYers skimp on ground preparation, leading to an uneven or unstable surface.
How to avoid: Remove existing turf and weeds, excavate the soil to a depth of 3-4 inches, and compact the subsoil using a plate compactor. Then, add a layer of crushed stone or gravel and compact it for a solid base.
2. Choosing the Wrong Artificial Grass
Not all artificial grass is created equal, and selecting the wrong type can result in poor putting performance.
How to avoid: Look for turf that’s specifically designed for putting greens with a tight, short pile and high stitch rate to ensure a realistic and consistent roll.
3. Ignoring Drainage
Poor drainage can lead to puddles that can attract pests and cause mold and mildew growth.
How to avoid: Be sure to incorporate a slight slope in the base layer (approximately 1% grade) and use a permeable aggregate to promote proper drainage.
4. Inaccurate Measurements
Taking inaccurate measurements can lead to wasted materials and an ill-fitting putting green in your yard.
How to avoid: Measure your space carefully and account for any irregular shapes or slopes. Add a few extra inches to your calculations for trimming and adjustments.
5. Neglecting Seam Alignment
Visible seams can impede ball roll and ruin your backyard putting green’s look.
How to avoid: Carefully align adjacent turf pieces before securing them with seam tape and adhesive. Avoid overlapping or stretching the turf.
6. Inadequate Turf Securing
Loose or buckling turf can lead to tripping hazards and inconsistent ball roll.
How to avoid: Secure the edges of the best artificial turf with 6-inch galvanized nails or landscape staples every 3-4 inches. Ensure the turf is pulled taut during installation.
7. Improper Cup Installation
If the cup isn’t installed properly, it could wear away at the edges of the turf around it. It could also make the nearby turf surfaces uneven.
How to avoid: Make sure to cut a precise hole in the turf. Use a sturdy cup and ensure the top of the cup is flush with the surface of the artificial grass to keep it seamless.
8. Insufficient Infill Application
Infill provides cushioning, helps maintain the shape of the turf, and improves ball roll. Skipping or skimping on infill can lead to premature wear and an inferior playing experience.
How to avoid: Follow the manufacturer’s recommendations for infill type and application rate.
9. Rushing the Process
Rushing through the process can result in shortcuts, mistakes, and an unsightly, subpar putting green.
How to avoid: Allow adequate time for each step, from ground preparation to final grooming to create a pro-level course.
Essential Tools for a Hassle-Free DIY Installation
Make sure you have these tools handy before starting on your best putting green project:
-
Measuring Tape and Marking Tools
A measuring tape ensures you purchase the correct amount of artificial grass, while marking tools like spray paint or marking flags help you outline the project area with ease.
Mistakes in measurement can lead to wasted materials and a poorly fitting putting green.
-
Turf Cutter or Shovel
Eliminating existing grass and weeds is crucial for proper ground preparation. A turf cutter streamlines the removal process, while a sturdy shovel serves as an alternative for manual digging.
Clearing the area properly prevents unevenness, drainage issues, and future weed growth under your putting green.
-
Plate Compactor or Hand Tamper
A level, compact base ensures the putting green is stable and flat.
Use a plate compactor or hand tamper to compress the subsoil and base materials. This will create a firm, even foundation that supports accurate ball roll and prevents turf movement.
-
Utility Knife or Turf Cutter
Trim the artificial grass precisely around the edges and obstacles for a neat look. A sharp utility knife or turf cutter allows you to make clean, accurate cuts to ensure a seamless fit.
-
Seam Tape and Adhesive
High-quality seam tape and adhesive, specifically designed for artificial grass, help create strong bonds between adjacent turf pieces. Proper seaming ensures a continuous, smooth putting surface.
-
Hammer and Galvanized Nails or Landscape Staples
Anchoring the best artificial turf in San Jose to the ground is essential for preventing movement, wrinkles, and trip hazards.
Use a hammer and galvanized nails or landscape staples to fasten the turf edges and ensure a taut, wrinkle-free installation.
-
Infill Spreader or Broom
Infill adds cushioning, weight, and stability to your synthetic putting green, improving its performance and longevity.
An infill spreader or stiff-bristled broom evenly distributes infill across the turf, working it down into the grass fibers. Proper infill application also helps maintain turf shape and enhances the overall putting experience.
-
Cup Cutter
A cup cutter ensures precise hole cutting in the artificial grass, enabling a snug fit for the cups. Proper cup installation contributes to a seamless putting experience and a professional-looking green.
-
Power Broom or Stiff Brush
After installation, you must groom the turf regularly to keep them in great shape. A power broom or stiff brush helps you evenly distribute the infill, fluff the grass fibers, and remove any debris.
-
Level or Straight Edge
Checking for evenness during installation minimizes the need for future adjustments and repairs.
A level or straight edge tool helps you verify the evenness of your base and putting green throughout the installation process.
Install Artificial Grass for Golf Like a Pro!
The key to a hassle-free installation is to know what to avoid and have everything you need before getting started.
For high-quality putting green grass, infills, and accessories, shop here at Artificial Turf Express. All our products are on hand and ready for pickup. We also have installation guides. If you have questions, send us a message online or call us at 408-317-4730!